
This site contains product affiliate links. We may receive a commission if you make a purchase after clicking on one of these links. As an Amazon Associate I earn from qualifying purchases. View our disclaimer for more information.
This post will be all about the ultimate hand embroidery supplies you need!
When I first looked into starting embroidery, I thought to myself, I may need many hand embroidery supplies to get started. However, after getting into it, I realized you only need a couple of essential tools, and anything outside the list I provide you is only to make embroidery a bit easier.
You can start with the simple list I provide. Once you decide if embroidery is for you, you can invest in a bit more of the little gadgets and trinkets.
Embroidery Supply Basics – What You Actually Need
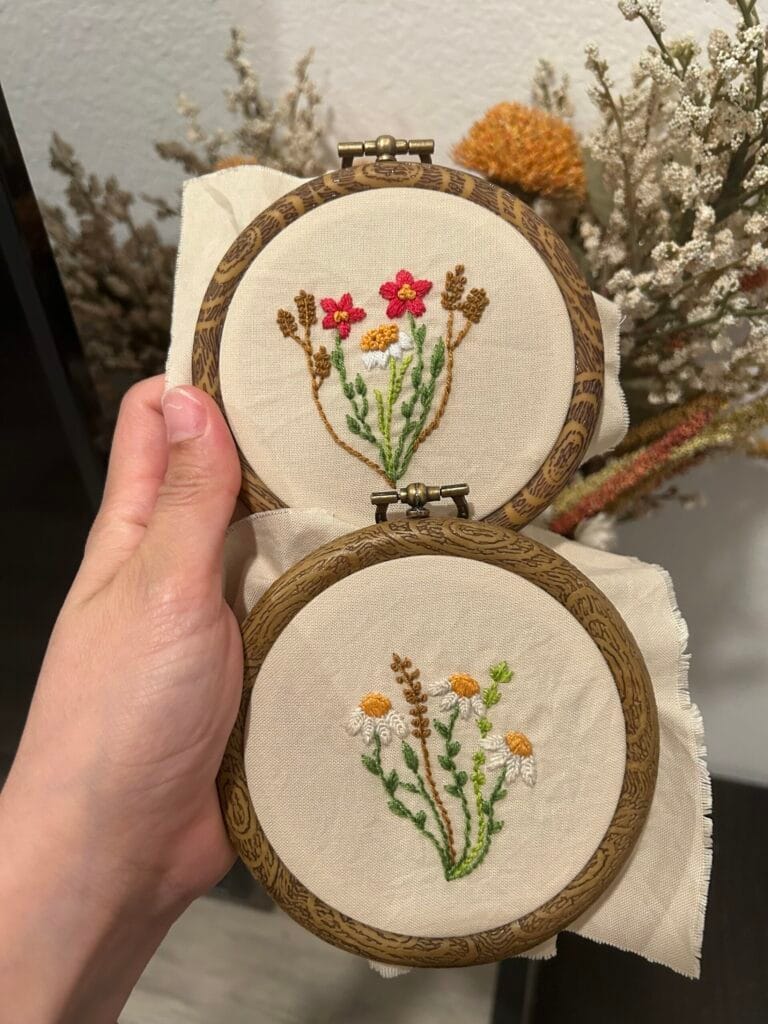
1. Embroidery Hoop


The embroidery hoop is helpful, ensuring your designs aren’t loose and will help stretch the material during the whole process.
When you are starting, I wouldn’t recommend designs with hoop sizes over 6 inches. The reason for that is, if it’s too big a design, you can get overwhelmed and incorrectly think embroidery isn’t for you. Choosing a smaller design ensures you can complete it quickly and have the satisfaction of a beautiful design.
Before you know it, you’ll be searching for your next design.
I created a free printable PDF flower design set here, if you needed embroidery patterns to start off with.
There are wooden hoops and plastic hoops. You can even find plastic hoops that look wooden. Those are my personal favorites!
If you chose those, you can even finish the design and display it in that same hoop. They are THAT aesthetic!
The only wooden hoops I have used have all been from embroidery kits, and the hoops don’t seem to be shaped evenly all around, so I prefer the plastic versions. However, that may be due to some starter kits using cheap materials.
Plastic hoops seem to grip the cloth better since they have a curved shape that is placed inside the hoop, which helps the material stay in place.
2. Embroidery Needles
Difference from regular sewing needles
There are different needle options. The one you choose should depend on what you are most comfortable using and the stitches you’ll make as well.
Embroidery needles are called crewel needles and have a bigger eye, which makes it easier to thread through.
Starting, it’s a good idea to get a needle pack with different needle sizes to try out. You will find out which you prefer, depending on the fabrics and the number of strands you are using.
Optional: needle threaders
You can also buy a needle threader, which helps insert the thread inside the needle eye; however, I have found it quicker to bend the thread in half and pinch it into the needle eye.
3. Embroidery Floss
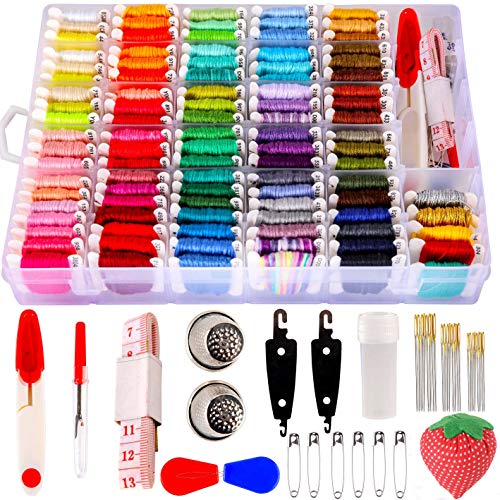
With cotton thread, three of the six strands are typically used with a regular embroidery design, but one or two strands are typically used when thread painting, since that’s a more detailed craft.
The most popular thread brand for embroidery is DMC; however, when you are starting, you can use any cheaper brands.
Once you are more confident in your skills, DMC floss will make a project last a long time and look great due to its quality. I use a stranded cotton thread that came with a starter kit I found on Amazon.
If you are using different thread brands, there are websites online that help match the closest DMC color.
4. Fabric for Embroidery

The most popular fabrics used are cotton, linen, or muslin. Lighter color fabrics are the easiest to transfer designs and also make the finished design pop a bit more.
- Cotton fabric is a common choice since it is affordable and easy to work with, and it doesn’t stretch out much.
- Linen is another popular fabric that offers a more natural look, but can be a bit more expensive and has an uneven weave at times.
- Cotton-linen blends are the middle ground, since they are more textured, like linen, but are softer, like cotton.
When choosing a fabric, make sure it isn’t stretchy. That will ensure the stitches can stay firmly in place.
Also, keep in mind that washing the fabrics can sometimes shrink them. I would suggest washing the fabric before starting the design to avoid the finished design being ruined.
5. Scissors
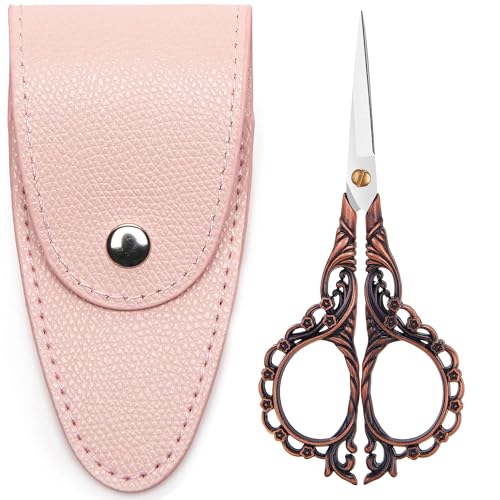
I have a pair of cheap embroidery snip scissors that came with a starter kit I purchased, and they have been all I have needed, for the most part. They fit perfectly in my thread box and are quick and easy to use.
However, for cutting fabric, I have used a pair of small embroidery scissors that have sharp, thin, pointed blades. Those help when you need to correct a mistake in your design or trim ends close to the design to get a more precise cut. (If I’m being honest, I bought them because they are so darn cute, aren’t they?!)
6. Marking Tools


You can easily trace your design by holding your fabric up to a window with the printed outline behind it (daylight works great for this). If you’re using a tablet, just increase the brightness and trace directly from the screen.
A regular pencil works perfectly, especially if you’re just practicing. Just try not to press too hard, since heavy lines can still show through your stitches or be tough to cover.
If you think you’ll want to wash the lines out later, a water-soluble pen is a nice option. The ink disappears with a little water, but be warned: if you accidentally iron over it, the heat can make the lines permanent. So save the ironing for after you’re completely done stitching and rinsing!
Optional But Helpful Embroidery Supplies
- Needle minder – these are tools that help give you a place to put your needle to avoid losing your needle and accidentally sitting on it.
- Thread organizer/floss bobbins – these are not required, but nice to have if you need your items organized and labeled.
- Lightbox or window transfer method – also not required, but if your preferred method of transferring a design is tracing, a lightbox helps make the design outline clear while it is placed under your fabric.
- Fabric stabilizer (for stretchy fabrics) – if you are using a stretchy material, this helps the fabric from bunching up too much.
- Embroidery pattern transfer paper – You can print your design in the form of a dissolvable sticker. These are a game-changer!
Where to Buy Embroidery Supplies
Online stores (Amazon, DMC, Etsy kits)
Craft stores (Joann, Michaels)
All these supplies should be available at your local craft stores, like Michael’s and Hobby Lobby.
You can also find it on Amazon, but what can’t you find on Amazon these days?
Purchasing a beginner kit will save you money by not buying all the supplies individually. Be sure to check reviews and see if the kit supplies you need are worth the price, or purchase only the basic supplies needed if that’s a better deal for you.
Free Download – Embroidery Flower Designs 3 to 4-inch patterns
If you want to get started with some flower bouquet designs on 3 or 4-inch hoops, I have created some beautiful designs for you to download for FREE when you sign up for my newsletter.
I hope you can see now that you only need a few basic hand embroidery supplies, and it’s super cheap to start and begin customizing items around your home.
If you would like to see progress videos of designs I have made in the past, you can do that HERE.
Until next time!
This post was all about hand embroidery supplies.
Where to Next?
-
 The Ultimate Beginner Hand Embroidery Supplies: Everything You Need to Get Started
 -
How to Relax Your Mind in 5 Minutes: Hacks for Instant Peace
-
21 Stylish Women's Dress Pants That You Need in Your Closet
-
21 Stylish Loungewear Sets for Women You’ll Never Want to Change Out Of
-
Simple Ways to Relax in 5 Minutes: Quick Tips for Busy People